The last cabinet is installed, the paint looks fresh, and your Bradenton home finally feels like the space you imagined. Then sunlight catches the dust on the window tracks, and you open a drawer to find a fine layer of grit inside.
A remodel can leave dust and residue beyond the room where the work happened. A quick mop may leave you chasing streaks while cabinet corners, door trim, and closet shelves still need attention. This post-construction cleaning checklist helps you organize the final cleanup by room and identify tasks to discuss with your contractor or cleaning provider.
Before starting, ask your contractor to remove building debris and confirm that paint, grout, caulk, and floor finishes are ready to clean. Keep the manufacturer's care instructions handy. If the project involved suspected lead paint, asbestos, or other hazardous material, have a qualified specialist handle the assessment and cleanup; a household checklist cannot establish that the space is safe. See the EPA's guidance on lead-safe renovations for projects involving older painted surfaces.
Kitchen Checklist: Cabinets, Hardware, and Appliances
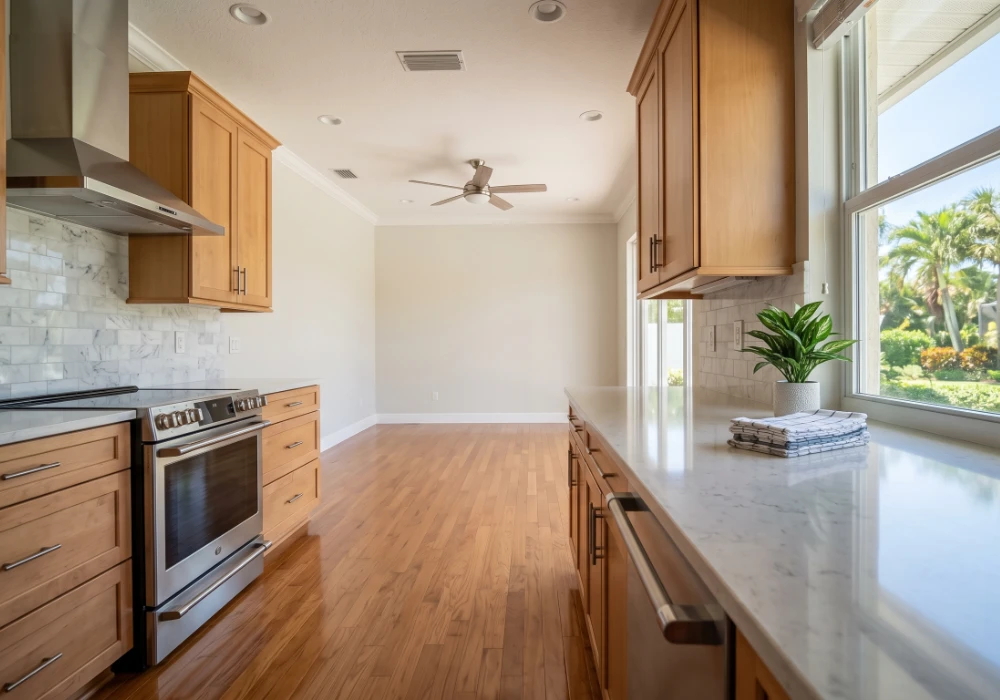
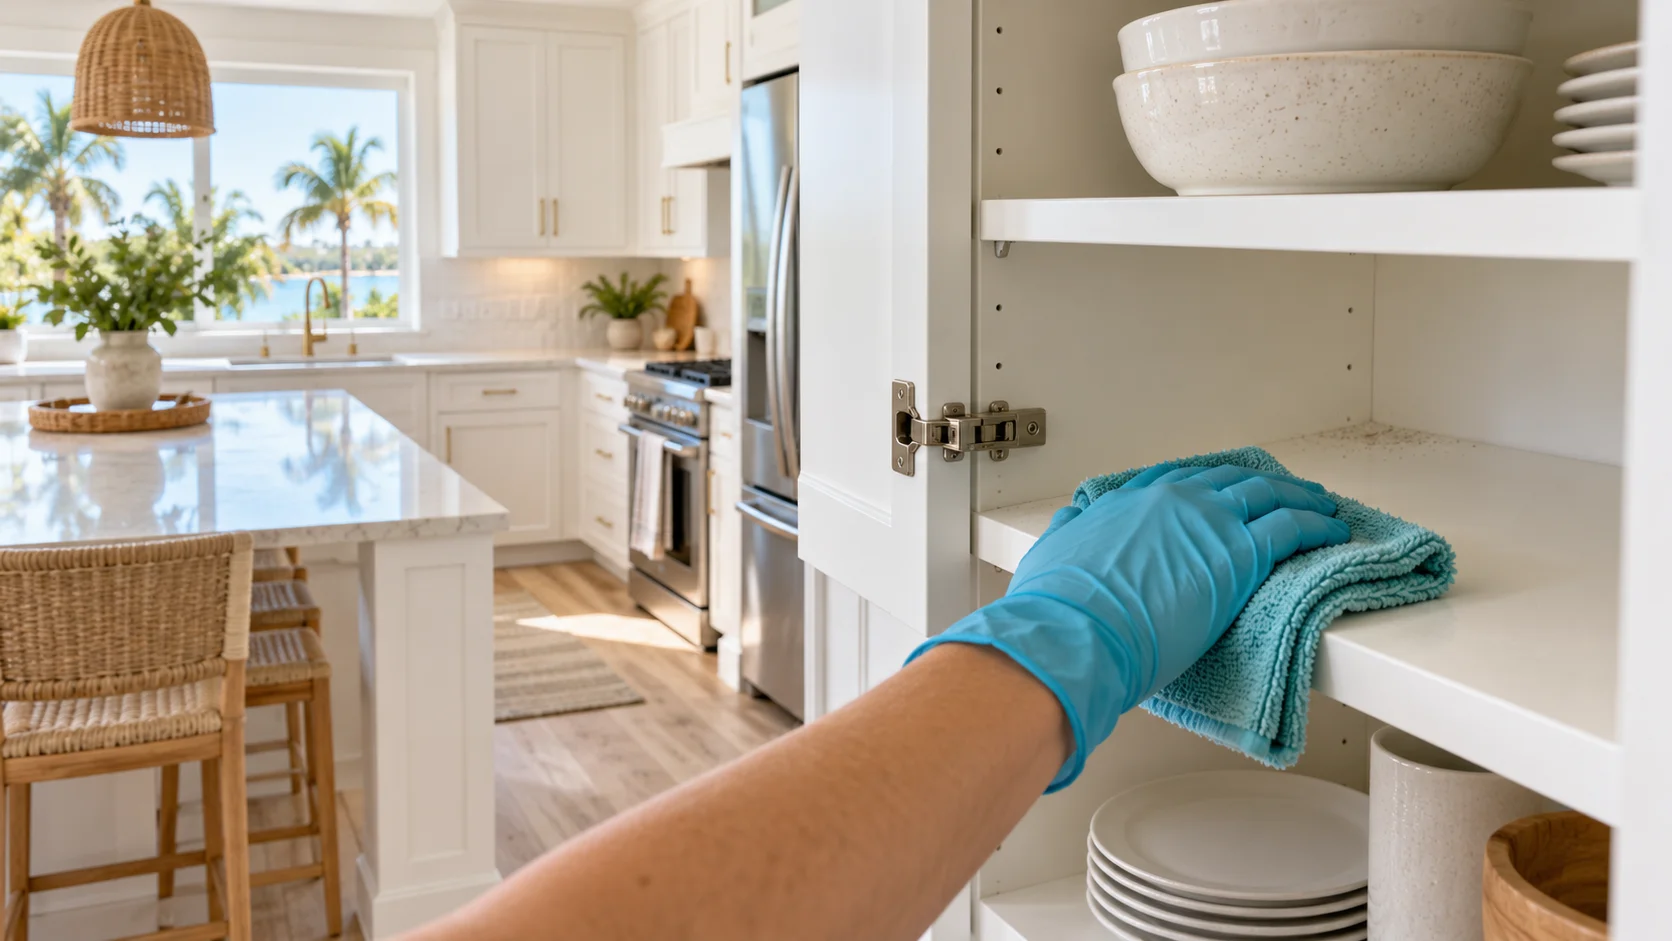
Kitchen dust can collect inside cabinets even when their doors stayed closed during construction. Clean storage areas before putting dishes, cookware, and pantry items back in place.
- Start above the counters. Check reachable cabinet tops, light fixtures, and molding. Remove loose dust with suitable equipment before wiping the surfaces below.
- Empty cabinets and drawers. Use a vacuum designed for fine dust with a sealed HEPA filtration system and a soft attachment suitable for the finish. Work into interior corners, then wipe with a lightly damp microfiber cloth and a manufacturer-approved cleaner. Let shelves dry before restocking.
- Detail handles and hinges. Lift dust from hardware and drawer edges without forcing grit into moving parts. Avoid saturating hinges or drawer slides.
- Clean counters and backsplashes. Remove loose particles first, then use a product approved for the countertop or tile. Leave stubborn adhesive, paint, or grout residue to the installer if the removal method is unclear.
- Finish appliance exteriors and accessible floor edges. Follow the appliance instructions; on stainless steel, use a clean cloth and wipe with the grain. Have the installer handle moving heavy appliances or accessing electrical and mechanical components.
For cleaning after the construction residue has been addressed, our professional deep cleaning guide explains how a detailed household visit can fit into your ongoing routine.
Bathroom Checklist: Tile, Fixtures, and Drain Protection
A cloudy film on new tile may be grout haze. The right treatment depends on the grout, the tile or stone, and how long the installation has cured. Ask your tile installer to identify the residue before trying a stronger product.
- Confirm curing times. Wait until grout, sealant, and caulk are ready for cleaning according to their product instructions.
- Match haze removal to the material. There is no single remover suitable for every installation. Start with the installer's recommended method and test an inconspicuous area. Avoid acidic products on acid-sensitive stone such as marble and limestone. LATICRETE's cement grout guidance explains why product choice and curing matter.
- Keep construction waste out of drains. Collect grout residue, mortar, and drywall compound for appropriate disposal. Do not wash slurry into a sink, tub, or shower.
- Wipe fixtures and vanity storage. Clean faucet bases, cabinet interiors, handles, and the area behind the toilet with products suited to each finish.
- Check glass and ventilation covers. Use approved non-abrasive cleaning methods on mirrors and shower panels. Ask the installer about paint or silicone spots instead of assuming a scraper is safe for coated glass. Clean accessible fan covers according to the manual, with power off.
Once the bathroom is in use, regular ventilation and moisture control belong in the routine. Our guide to dust and humidity in Florida homes covers the places to keep checking.
Living Room and Bedroom Checklist: Work from Top to Bottom
Dust can settle on walls, trim, shelves, and soft furnishings. Finish higher surfaces before cleaning floors so you do not have to repeat the same work.
- Inspect reachable overhead surfaces. Check fan blades, light fittings, door frames, and molding. Turn fixtures off and use safe access equipment; leave high or difficult areas to someone equipped for the task.
- Treat fresh paint gently. Confirm the paint's curing and cleaning instructions before touching walls. Avoid aggressive rubbing or soaking, which can mark a new finish.
- Clean closets before unpacking. Work through shelves, rods, door tracks, and corners. Wipe appropriate surfaces after removing loose dust and let them dry.
- Check upholstered furniture and textiles. Vacuum with attachments approved for the fabric and follow care labels for washable covers or curtains. Heavily contaminated items may need specialist attention.
- Leave floors until last. Use a clean, floor-safe vacuum attachment, check wheels for trapped grit, and damp-clean only as the flooring manufacturer permits. Avoid dragging furniture across new flooring.
Keep pets away while cleaning products are in use and until surfaces are ready for normal use under the label instructions. Once the remodel cleanup is complete, our pet owner's dust-control guide can help with everyday upkeep.
Detail Checklist: Vents, Window Tracks, and Baseboards
These narrow edges are easy to miss during the first pass. Check them in each room before calling the cleanup finished.
- Exterior vent covers. With the system off, remove surface dust from accessible grilles. Follow the manufacturer's directions if covers are removable. Cleaning a grille does not clean the ductwork, blower, or coils.
- HVAC filters. Inspect the filter after renovation and replace it if needed. Choose the correct size and a rating your system supports. The EPA's home air filtration guide recommends MERV 13, or the highest rating the system can accommodate; an HVAC technician can confirm compatibility.
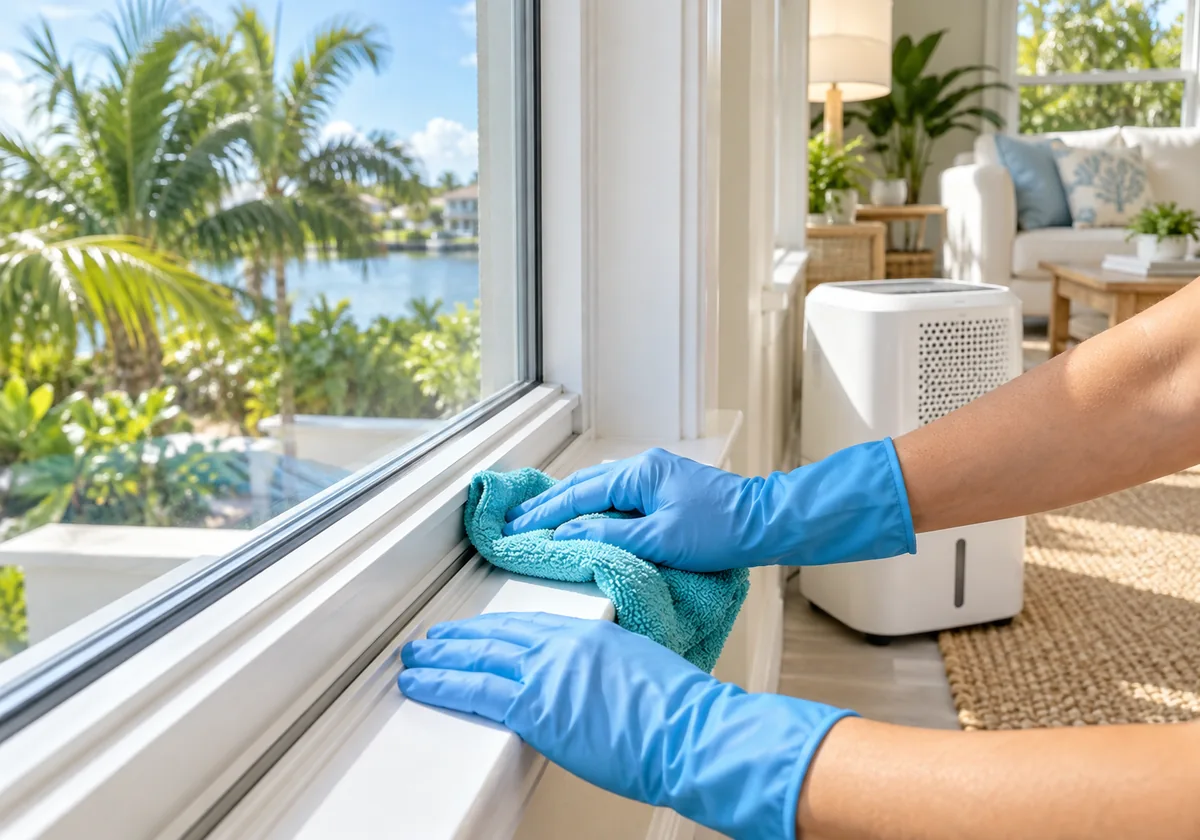
- Window and sliding-door tracks. Loosen accessible debris with a soft brush, vacuum it out, and wipe the channels without pushing debris into drainage openings. Avoid stiff tools that can damage seals or finishes.
- Baseboards and door trim. Remove loose dust from the upper ledge, then wipe with a lightly damp cloth where the finish permits. Check corners and the edges behind doors.
If dust keeps emerging from the ventilation system or debris is visible inside it, discuss an inspection with an HVAC professional. For a renovation that overlaps with moving, use our move-in house cleaning checklist to plan cleaning before boxes and furniture arrive.
Protect Your Renovation with a Final Walkthrough
The final check is a chance to catch missed residue and separate cleaning tasks from installation repairs. Removing loose grit before wiping helps protect new finishes; scrubbing harder can make a stubborn mark worse.
- Inspect in daylight. Look along counters, glass, flooring, and cabinet shelves for remaining dust, haze, or streaks.
- Recheck after dust settles. If another pass is needed, use the same careful sequence instead of dry sweeping dust back into the room.
- Document anything unresolved. Photograph scratches, paint spots, adhesive, or persistent haze and review them with the contractor before attempting removal.
- Confirm the agreed work. Review room access, cabinet interiors, windows, debris disposal, and any specialist work against the written scope.
A room that looks clean is not proof that hazardous dust has been eliminated. Where the renovation requires specialist cleanup or clearance, rely on that process before returning the space to normal use.
Discuss Your Bradenton Home with Snap Shine Clean
Snap Shine Clean provides regular cleaning, deep cleaning, move-in and move-out cleaning, and commercial cleaning in Bradenton and nearby communities. If you have recently remodeled, describe the work and the remaining mess before scheduling a visit.
Share which rooms were renovated, whether the contractor has removed debris, the types of new finishes, and any dust or residue that still needs attention. Photos can help the team assess whether the requested work fits an available service and explain the proposed scope.
This checklist is a planning guide. Specialized construction cleanup, hazardous-material remediation, duct cleaning, and finish restoration should be discussed with qualified providers; they are not automatically included in a household cleaning visit.
Plan the next step for your home
Request a Cleaning Assessment in Bradenton
Tell us about your finished remodel and the cleaning you need. We will review the details with you and confirm whether the work fits our available services before you book.
Call or text (941) 399-8862, or use the online form to describe your space and priorities.
Service availability and cleaning scope are confirmed after reviewing your request.